Glutinous Rice Unveiled: Perfecting This Beloved Asian Staple
Glutinous rice, often affectionately known as "sweet rice" or simply
sticky rice, holds a revered status as a cornerstone in countless Asian cuisines, particularly in Laos where it's a daily bread, and widely cherished across Thailand, Vietnam, and Southern China. Far from being a mere side dish, its unique, chewy texture and subtle sweetness make it an experience in itself, transforming meals from ordinary to extraordinary. Despite its name, glutinous rice is completely gluten-free, with "glutinous" referring to its glue-like, sticky consistency when cooked – a characteristic that sets it apart from other rice varieties.
For many, the idea of preparing perfect sticky rice at home can seem daunting, a culinary mystery best left to seasoned chefs or traditional eateries. However, with the right techniques and a touch of patience, anyone can master this beloved staple. This comprehensive guide will walk you through the essential steps to create an authentic, perfectly textured
sticky rice recipe, ensuring a translucent, shiny, and utterly irresistible result every time.
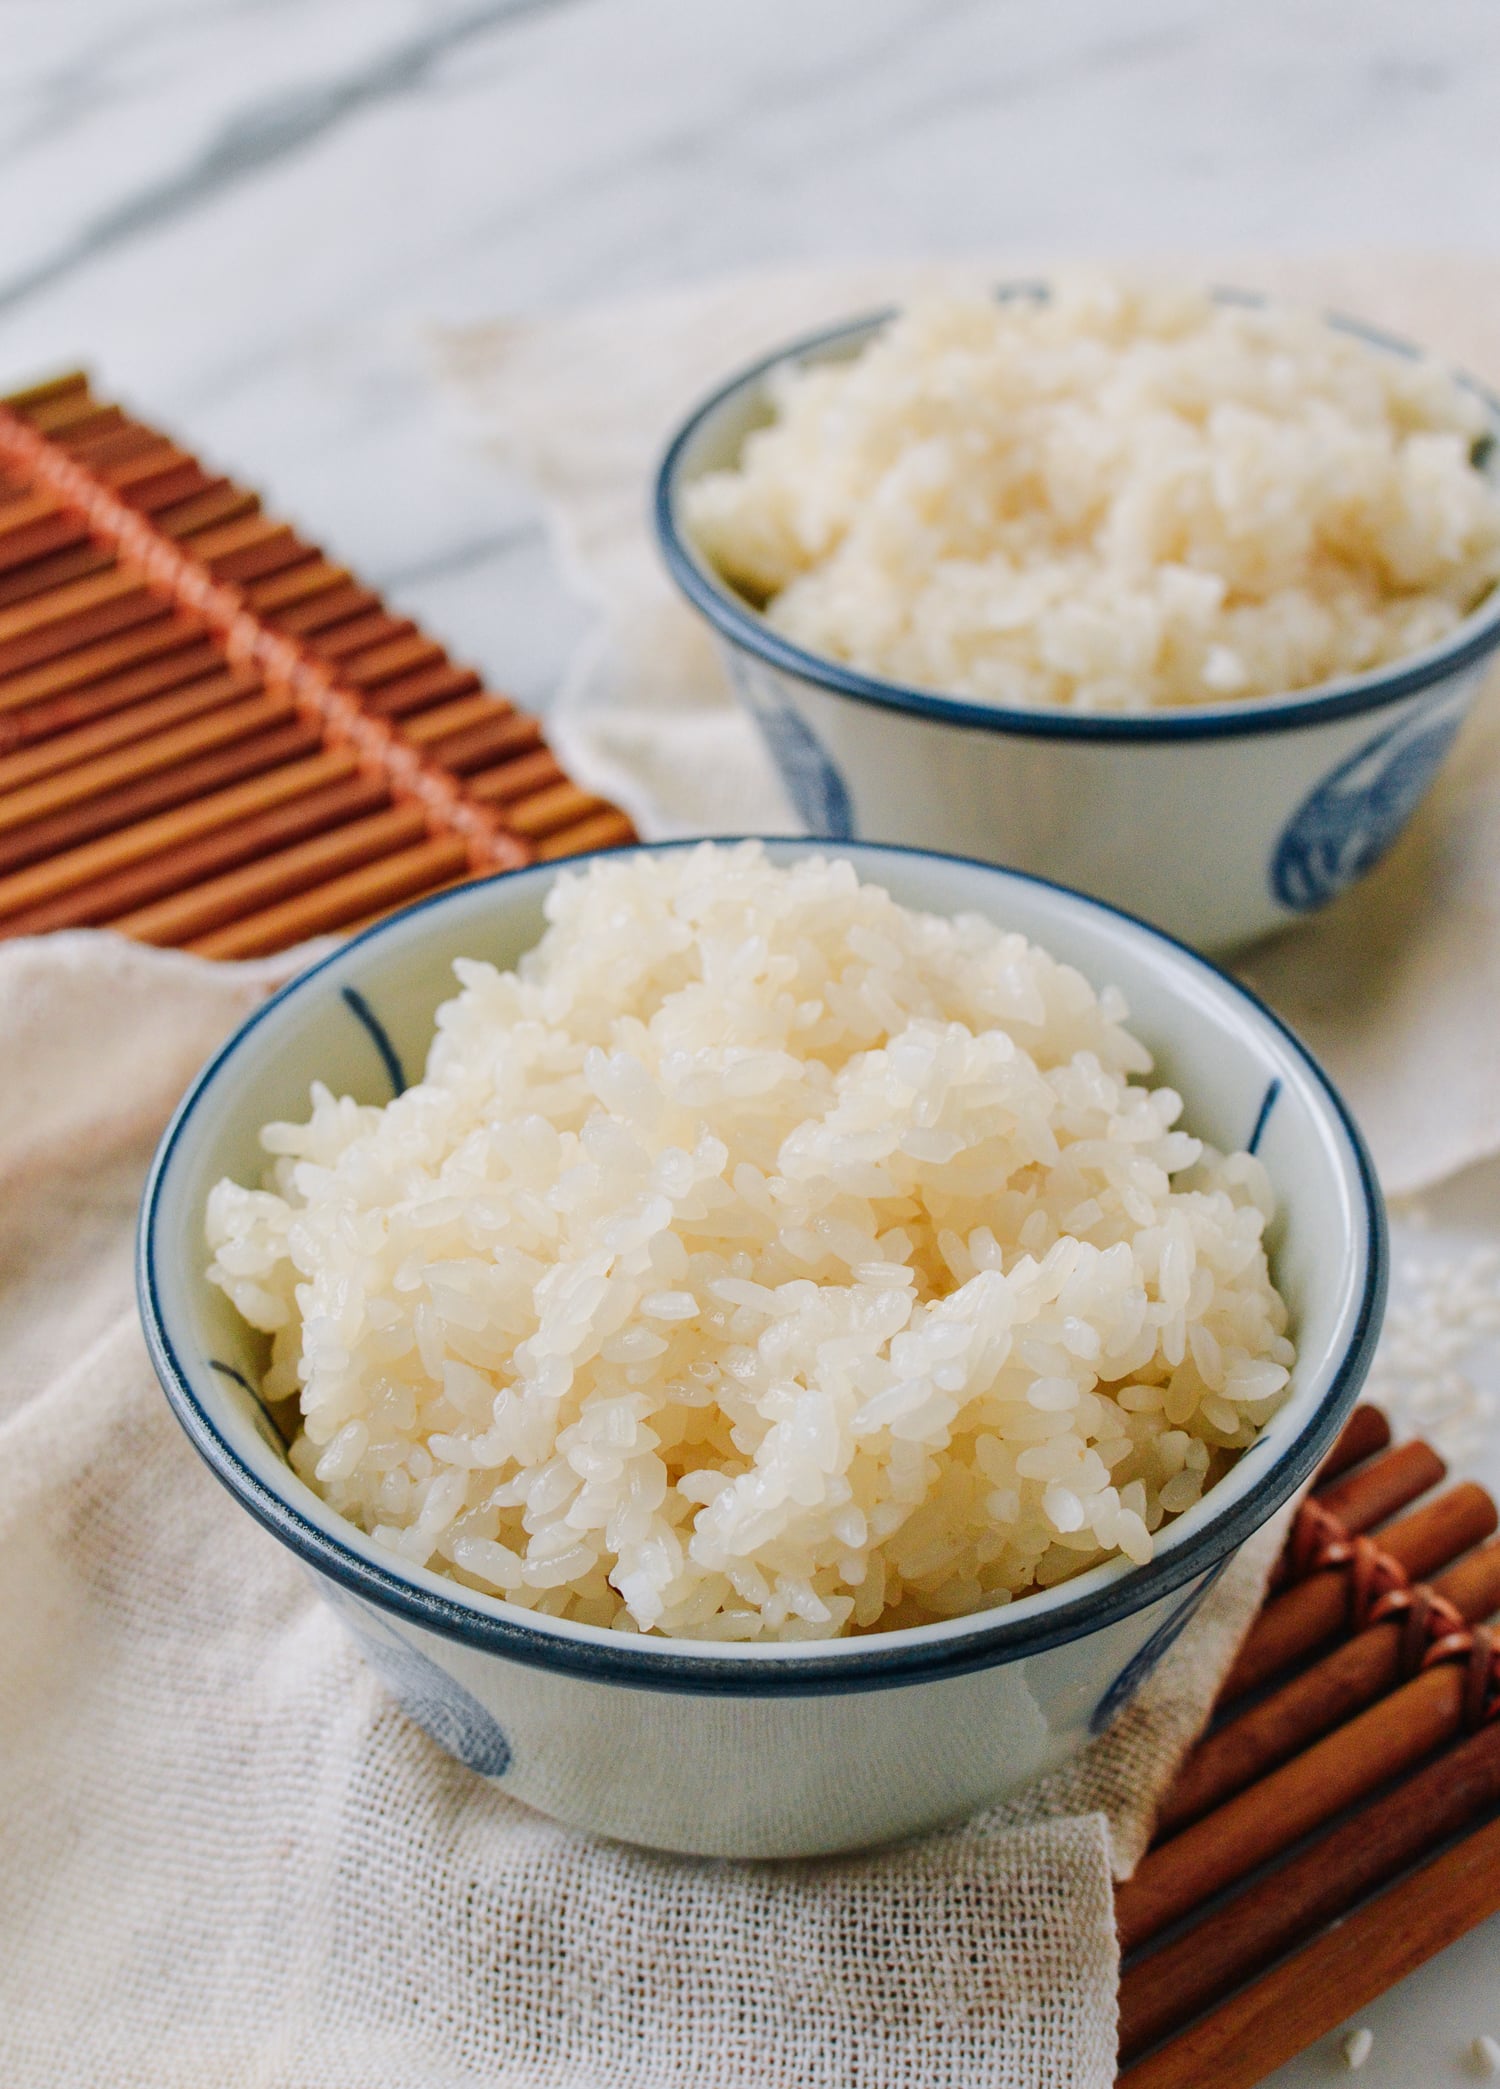
What Exactly is Glutinous Rice? Understanding Your Ingredient
Before diving into the cooking process, it's crucial to understand the star of our show: glutinous rice. This isn't your average long-grain jasmine or short-grain sushi rice. Glutinous rice features a larger, opaque white grain that, once steamed, transforms into a remarkably translucent, glossy, and incredibly sticky consistency. Its unique starch composition, primarily amylopectin, is responsible for this distinct texture, making it unsuitable for boiling like other rice types.
When sourcing your ingredients, look specifically for "long-grain Thai sticky rice" or "sweet glutinous rice." This is important because while many rice varieties exist, only true glutinous rice will deliver the signature stickiness and texture essential for this recipe. Avoid confusing it with other types of rice that might be labeled "sticky" due to their high starch content when cooked (like sushi rice), as they will not yield the same result.
The Art of the Perfect Sticky Rice Recipe: Step-by-Step Guide
Mastering
sticky rice involves a few critical stages, each contributing to the final perfect texture. Here’s a detailed breakdown:
1. Preparation: Rinsing and Soaking – The Foundation
The journey to perfect sticky rice begins long before it touches any heat. Proper rinsing and soaking are non-negotiable steps that ensure even cooking and the desired tender, non-clumpy texture.
*
Rinsing: Start with 3 cups of long-grain Thai sticky rice. Place the rice in a large bowl and cover it with cold water. Agitate the rice gently with your hands, then drain the cloudy water. Repeat this process several times (usually 4-5) until the water runs mostly clear, not milky. This removes excess surface starch that can lead to gummy rice.
*
Soaking: After rinsing, cover the rice with fresh, room-temperature water, ensuring it's submerged by at least 2 to 3 inches. The longer the soak, the better the flavor and more even, tender the texture will be.
*
Optimal Soak: Aim for 6 to 24 hours at room temperature. This extended soak allows the grains to fully hydrate, resulting in a more uniform cook and superior texture.
*
Quick Soak: If time is short, you can soak the rice in warm water (around 100°F or 38°C) for a minimum of 2 hours. While perfectly edible, this shorter soak might slightly compromise the depth of flavor and evenness of texture compared to the longer method.
**Insight:** Soaking is critical because it kick-starts the hydration process, softening the grains from the inside out. This pre-hydration is what allows the rice to cook perfectly tender through steaming without becoming mushy or brittle.
2. Steaming: The Traditional and Best Method
Steaming is the traditional and arguably the best method for cooking sticky rice. It allows the grains to swell and cook through the gentle, moist heat of steam, preventing them from becoming waterlogged or disintegrating, which can happen with boiling.
*
Drain Thoroughly: Once soaking is complete, drain the rice completely using a fine-mesh sieve or a colander lined with muslin or cheesecloth if the holes are too large. Ensure no excess water remains clinging to the grains.
*
Steamer Setup:
* The traditional method uses a conical woven bamboo basket (known as a *huad* in Thai or *thip khao* in Lao) placed over a pot of boiling water.
* Alternatively, you can use a standard stacking steamer, a metal colander, or a fine-mesh strainer that fits snugly over a large pot or wok.
* Fill your pot or wok with several inches of water and bring it to a rolling boil.
*
Crucial Rule: The rice in the steamer basket must *not* touch the boiling water. Ensure there's enough space between the water level and the bottom of your steamer.
*
Steaming Process:
1. Place the drained rice into your steamer basket, arranging it loosely to allow steam to circulate evenly.
2. Cover the steamer with a lid (or foil if your basket doesn't have one).
3. Steam for 25 minutes, or until the rice appears shiny and tender.
4. After about 15-20 minutes, carefully remove the lid and, using a long-handled wooden spoon or spatula, gently turn the rice over. This ensures the top layer, which might be drier, gets moved to the bottom for more even steaming. Be mindful of the hot steam!
5. Continue steaming until the rice is translucent, glossy, and tender when tasted. It might take an additional 5-10 minutes if your rice was less hydrated or your steamer wasn't tightly sealed.
6. Keep an eye on the water level in your pot throughout steaming; add more boiling water if necessary, making sure it still doesn't touch the rice.
**Insight:** Flipping the rice during steaming is a small but impactful step. It ensures that all grains are exposed equally to the steam, preventing dry, undercooked spots and promoting uniform tenderness and stickiness.
3. Post-Steaming: Fluffing and Serving
The final stage is about preparing the rice for serving and maintaining its perfect texture.
*
Handle with Care: Once cooked, turn the hot sticky rice out onto a clean work surface, a large clean tray, or a clean, damp cloth.
*
Flatten and Fold: Use a long-handled wooden spoon, spatula, or even damp hands (be cautious of heat!) to flatten the rice slightly. Then, begin folding it over on itself, first from one side, then the other, similar to how you might gently knead or fold dough. This process helps to break up any potential clumps, releases excess steam, and allows the rice to become an even, cohesive lump. Continue for a minute or two until the rice is uniform and consistently sticky.
*
Serving and Storage: Transfer the prepared sticky rice into a covered serving basket (traditionally woven bamboo), a serving bowl, or keep it covered with a damp cloth or a tight-fitting lid.
* Serve warm or at room temperature.
* It is crucial to keep sticky rice covered until serving, as exposure to air while cooling will cause it to dry out quickly and become hard.
Beyond the Steamer: Alternative Methods and Essential Tips
While steaming remains the gold standard for traditional sticky rice, alternative methods using a rice cooker or pot on the stove are possible for those without a steamer. However, they often require careful water measurement and may not achieve the exact same texture. For detailed instructions on these alternative cooking methods, explore our guide on
Easy Ways to Make Sticky Rice: Steamer, Pot, or Rice Cooker.
Here are some additional tips for consistent success with your
sticky rice recipe:
*
Choose the Right Rice: Always double-check that you're buying *glutinous rice* or *sweet rice*, not just any long-grain variety.
*
Don't Skip Soaking: Unless absolutely necessary, commit to the longer soak. It makes a significant difference in the final product's quality. For more in-depth knowledge on optimizing each stage, delve into our comprehensive guide,
Master Sticky Rice: Soaking, Steaming, and Serving Tips.
*
Maintain Steamer Water: Keep an eye on the water level in your pot during steaming to prevent it from running dry, which can burn your pot and halt the cooking process.
*
Taste Test for Doneness: The best way to know if your sticky rice is cooked perfectly is to taste a few grains. They should be tender, chewy, and completely translucent.
*
Serving Pairings: Sticky rice is incredibly versatile. It's fantastic with savory dishes like grilled meats, Thai curries, Laotian stews, or alongside papaya salad. It also shines in sweet preparations like the famous Thai mango sticky rice, drizzled with coconut milk.
*
Leftovers: Store cooled sticky rice in an airtight container in the refrigerator for up to 3-4 days. To reheat, you can steam it briefly until soft again, or microwave with a splash of water and covered.
Conclusion
Perfecting glutinous rice, or
sticky rice, is a rewarding culinary endeavor that brings a taste of authentic Asian tradition into your kitchen. By understanding the unique properties of this special grain and diligently following the steps of rinsing, soaking, steaming, and proper handling, you'll be able to create a tender, chewy, and irresistibly sticky staple that will elevate any meal. Embrace the process, savor the aroma, and enjoy the satisfaction of mastering this beloved Asian culinary gem. Happy cooking!